An automatic hair curler is a one-button promise of salon-perfect waves. The reality is a bit more personal, a dance between you, your hair, and a whirring gadget. That gap between the sleek ad and your bathroom reality is where the real story happens.
We’ve all seen the videos. A model runs the tool through her hair, and flawless, bouncy curls spill out. You try it, and it’s a tug-of-war, resulting in a lopsided, frizzy mess. This isn’t a failure of technology, but a mismatch of expectation. These tools aren’t magic wands; they’re assistants. They automate the turning motion, but they can’t automate your technique. Mastering an automatic curling wand is less about reading a manual and more about learning a new language—the language of your own hair’s texture, thickness, and mood that day.
The Grab and Pull: Why Your Tool Feels Like a Battle
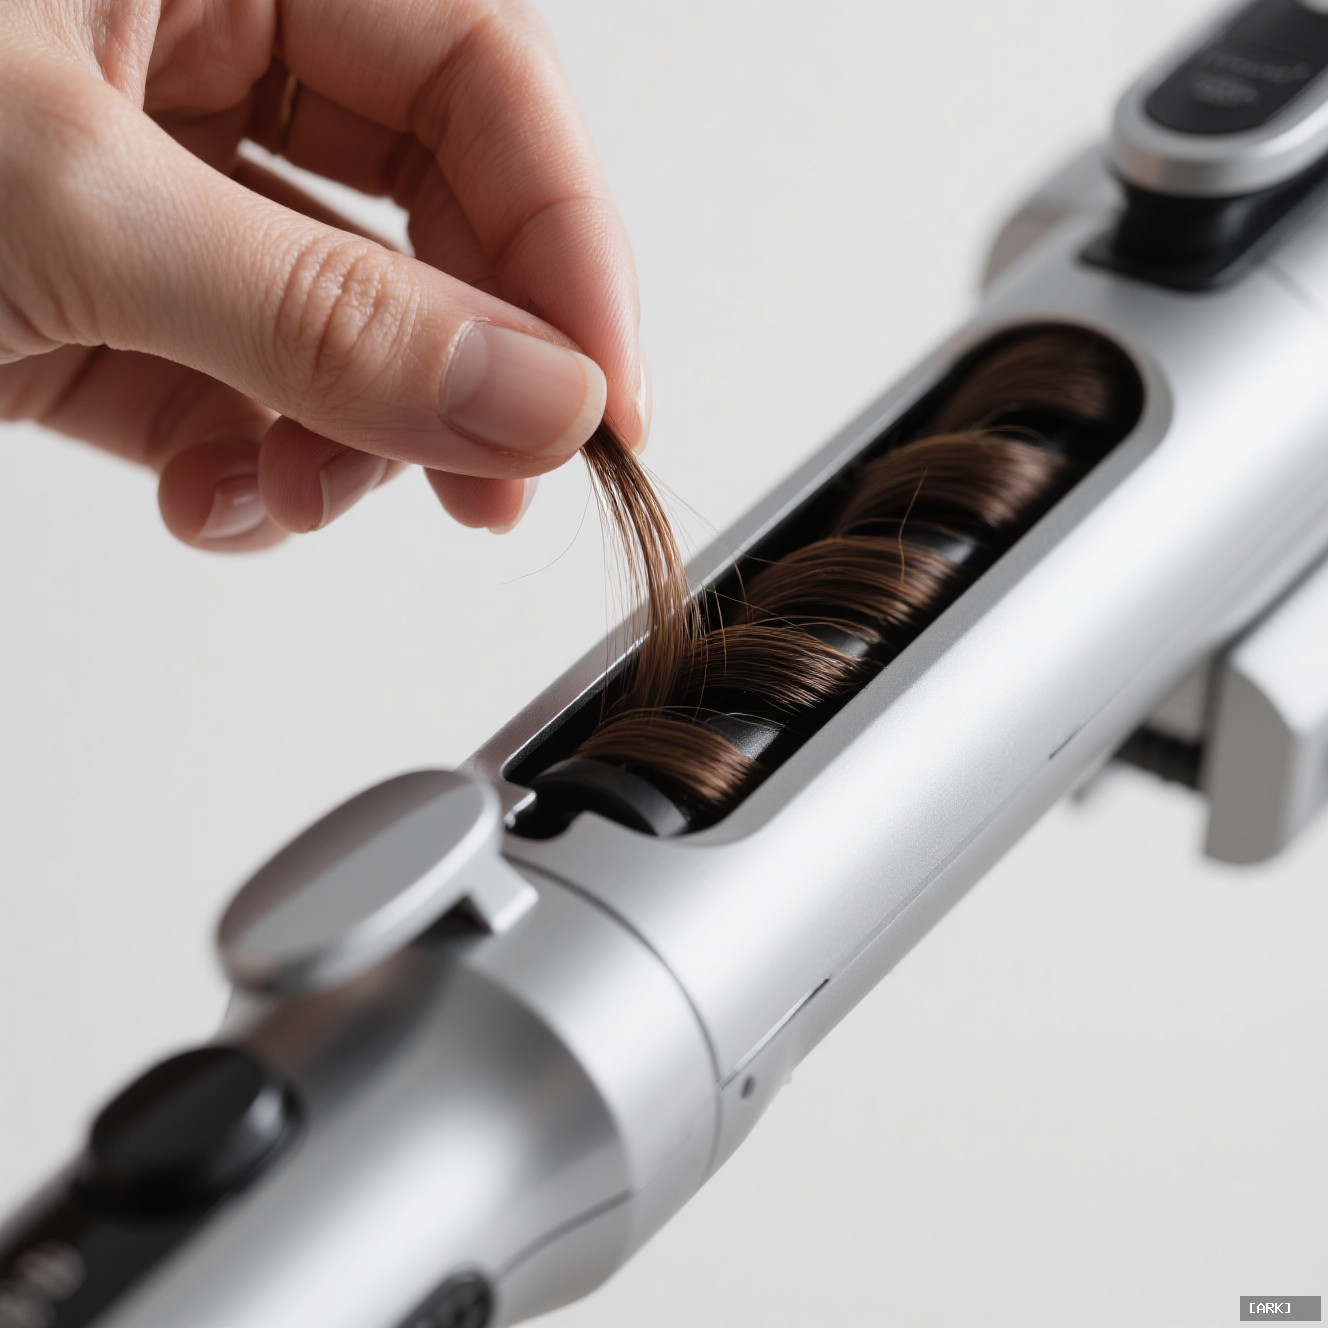
Hair getting yanked is the most common complaint. Your instinct is to blame the machine, but the culprit is usually the amount of hair you’re feeding it. Think of the curling chamber as a mouth. It can only comfortably chew so much at once.
If you try to insert a section wider than the barrel itself, the internal mechanism struggles. The gears and rollers fight against the volume, leading to that horrible pulling sensation and potential snags. The fix is simple, though it requires patience: take smaller sections. A good rule is to keep each section no wider than the diameter of the barrel. Also, pay attention to your angle. Holding the tool vertically, letting the hair fall naturally into the chamber, often works better than a horizontal approach. It’s about a gentle feed, not a forceful insert.
From Frizzy Mess to Uniform Waves: The Prep Work You Can’t Skip
An automatic hair curler needs a consistent canvas to create consistent curls. It can’t compensate for dry, tangled ends or wildly varying section sizes. Uniformity starts long before you turn the device on.
Begin with a good heat protectant spray on towel-dried hair. This isn’t optional; it’s your primary defense against the daily heat. Then, work methodically. Section your hair cleanly, starting from the nape of your neck and moving upward. Each section should be of similar size and dampness. If one piece is soaking and the next is bone dry, your curl pattern will be all over the place. The wand handles the rotation, but you are in complete control of the input. Slow, steady, and systematic wins the race.
Short Hair, Long Layers: Making the Tech Work for Your Cut
Can you use a self-curling styler on a bob or layered locks? Yes, but with managed expectations. The tool excels on lengths below the chin, where there’s enough hair to fully tuck into the chamber and rotate smoothly.
With shorter or heavily layered hair, the ends may not make it all the way in. You might get a beautiful curl that inexplicably straightens out at the tip. For a cohesive look, this is where partnership comes in. Use the automatic curler for the bulk of your hair, then finish those shorter, face-framing pieces with a manual curling iron or wand. It’s about using the right tool for each specific job, not forcing one device to do everything.
The Psychology of the Cold Tip: More Than Just Safety
Almost every automatic curling wand on the market has that distinctive cold tip. It’s a brilliant piece of design. Sure, it’s for safety—a clear spot to hold without burning your fingers. But it’s also a powerful piece of visual communication.
That cool ceramic end transforms the tool. It takes a scary, all-hot instrument and makes it approachable. It literally gives you a handle on the technology. The cold tip says, “Touch here, this part is for you.” It’s a bit of brand storytelling that builds confidence before you even press the button, making advanced styling tech feel intuitive and user-friendly.
Daily Use Without the Damage: A Sustainable Approach
Relying on an automatic curling iron daily means making heat protection a non-negotiable ritual. The auto-shutoff feature is for safety, not hair health. Prevention is your responsibility.
Always, always use a thermal protectant. Don’t default to the highest heat setting. Fine or color-treated hair often achieves a great curl on a medium setting; you might just need to hold it for a few seconds longer. It’s better to do two gentle passes than one scorching clamp. Most importantly, give your hair breaks. Use the wand for mid-week touch-ups rather than a full re-style every single day. Your hair’s long-term health will thank you.
Why Your Curls Droop: The Foundation Matters
If your beautiful curls fall flat within an hour, don’t immediately blame the self-curling styler. The problem is likely the foundation. Pin-straight, freshly washed hair can be too slippery for curls to grip.
Styling day-old hair, or using a light texturizing or volumizing spray at the roots, gives the curl something to hold onto. The cool-down phase is also critical. After the tool releases the curl, let it cool completely in the palm of your hand before gently shaking it out. This allows the hydrogen bonds in your hair, broken by the heat, to reset in the curled shape. Rushing this step is a surefire way to shorten your style’s lifespan.
Your First-Time Setup: A Stress-Free Start
Nervous for your first attempt? A little prep goes a long way. Follow this checklist to avoid common beginner frustrations:
- Power Up: Ensure the device is fully charged or plugged in near your mirror for unrestricted movement.
- Dry Run: Do a test cycle without hair. Listen to the motor, watch the rotation direction, and get a feel for the button. No surprises.
- Section Strategically: Before heating the barrel, clip your hair into four quadrants (split down the middle and ear to ear). This keeps things organized.
- Protect First: Apply a heat protectant spray evenly from your mid-lengths to ends. Don’t forget the undersides.
- Start Low & Slow: Begin with the lowest heat setting and a small, inconspicuous section at the back of your head. This is your practice round.
Keeping It Running: Simple Maintenance Answers
Taking care of your tool ensures it lasts. Here’s how to handle the basics:
How do I clean the barrel? Once the device is completely cool, wipe the barrel with a slightly damp cloth. Never submerge any part of it in water. For stubborn product buildup near the chamber opening, a dry cotton swab works wonders.
The clamp feels loose. Is it broken? Probably not. Many models have a spring-loaded clamp designed to adjust to different hair thicknesses. It might feel different from a traditional iron. Check your user manual for specific reset instructions before deciding it’s faulty.
Can I use it on damp hair? This is a firm no. These are designed for dry hair only. Using them on damp or wet hair causes sizzling, steam burns, uneven heating, and severe damage to your hair’s structure. Always ensure hair is completely dry first.
Sources & Further Reading
Elle: A Professional’s Take on Automatic Curling Irons
Good Housekeeping: How to Prevent Heat Damage
Who What Wear: Common Curling Mistakes and Fixes
Consumer Reports: How to Buy a Hair Curler
You may also like
Ancient Craft Herbal Scented Bead Bracelet with Gold Rutile Quartz, Paired with Sterling Silver (925) Hook Earrings
Original price was: $322.00.$198.00Current price is: $198.00. Add to cartAncient Craftsmanship & ICH Herbal Beads Bracelet with Yellow Citrine & Silver Filigree Cloud-Patterned Luck-Boosting Beads
Original price was: $128.00.$89.00Current price is: $89.00. Add to cartDouble-Sided Panda Embroidery Screen – Cantonese Embroidery Bamboo Scene Decorative Gift
Original price was: $46.70.$33.68Current price is: $33.68. Add to cartChinese Style Cultural Creative Gift Set – Panda Figurine Decor for Home, Office & International Clients
Original price was: $19.86.$17.20Current price is: $17.20. Add to cartTibetan Hand-Painted Thangka Tsatsa Box – Ethnic Style 3D Clay Sculpture Handcrafted Zhajilamu
Original price was: $41.00.$32.00Current price is: $32.00. Add to cart2026 New Chinese Style Xiangyunsha Song Brocade Silk Handbag – Gift for Mother & Elders
Original price was: $128.00.$115.00Current price is: $115.00. Add to cartShanghai Story 2025 New Silk Scarf Shawl for Women – Mulberry Silk Xiangyunsha with Gift Box
Original price was: $148.90.$136.90Current price is: $136.90. Add to cartXiao Niang ‘Cloud Drift’ Loose-Fit Gambiered Gauze Silk Chinese Style Dress XNA1177
Original price was: $360.00.$328.00Current price is: $328.00. Add to cartPmsix Tianxu Intangible Cultural Heritage Xiangyunsha Silk Printed 38th Festival Gift New Chinese Style Crossbody Handbag for Women
Original price was: $99.50.$94.50Current price is: $94.50. Add to cart